On Thursday, December 4th, our third MathCityMap Partner School Meeting took place – once again a very enriching exchange on the use of MathCityMap in the classroom.
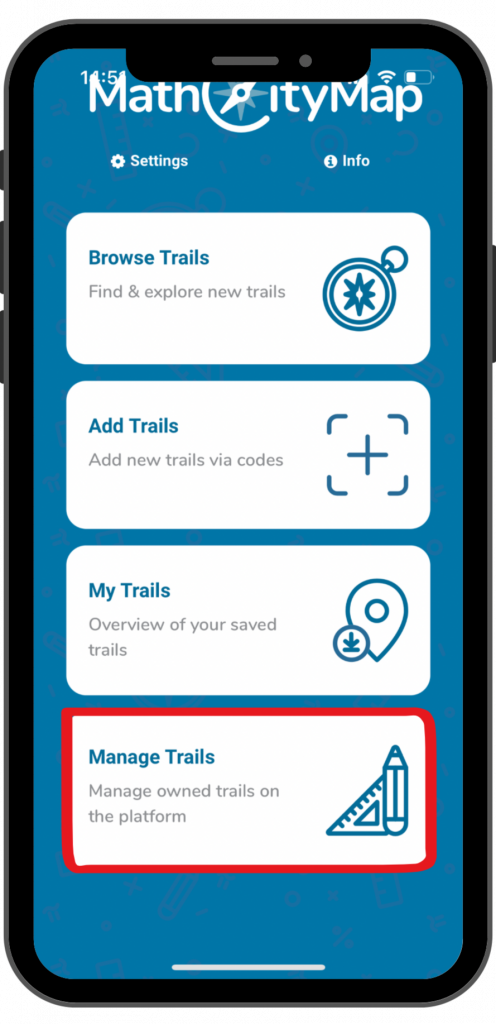
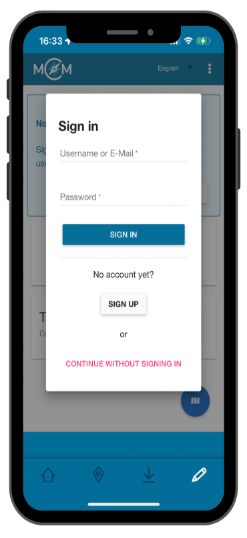
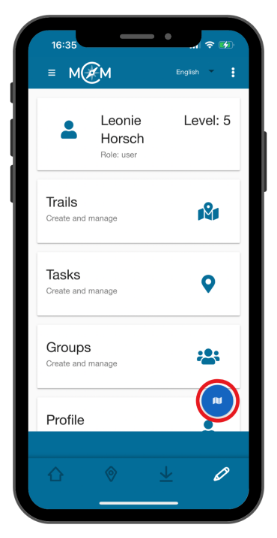
This time, the focus was on our new feature, the student accounts. With them, students can independently create their own MCM tasks and thus further develop their problem-solving and problem-posing skills. After an overview of other recent MCM updates and a short introduction, there was a hands-on phase during which participants could try out the new feature directly.
The meeting was attended by part of the MCM team, several project partners, and numerous teachers from Slovakia, Portugal, Spain, Germany, and Italy. Participants took the opportunity to ask many questions. We were particularly pleased with the positive feedback and the valuable suggestions for improvement, which will now be incorporated into the further development of the system.
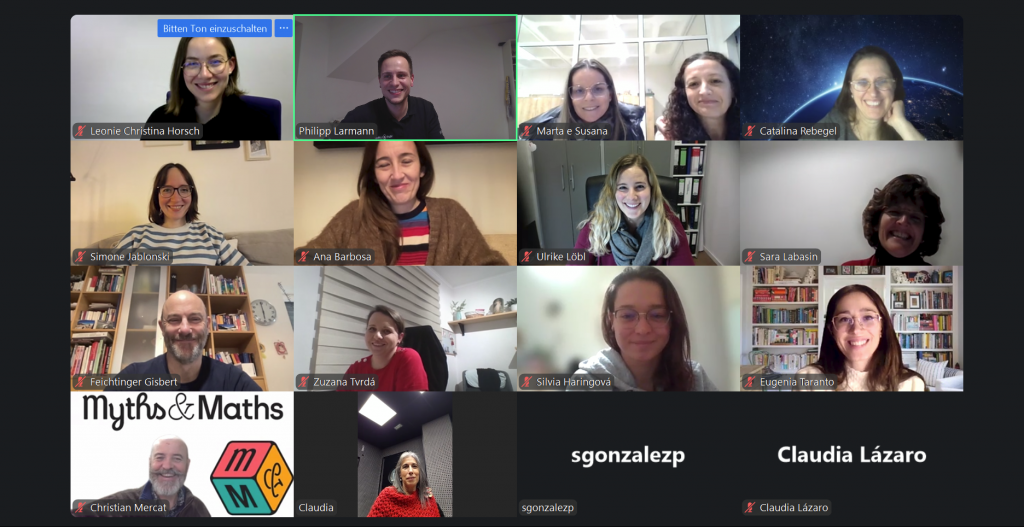
At the end of the online meeting, we took a group photo to capture this successful event.
We would like to thank all participants and are already looking forward to the next meeting!