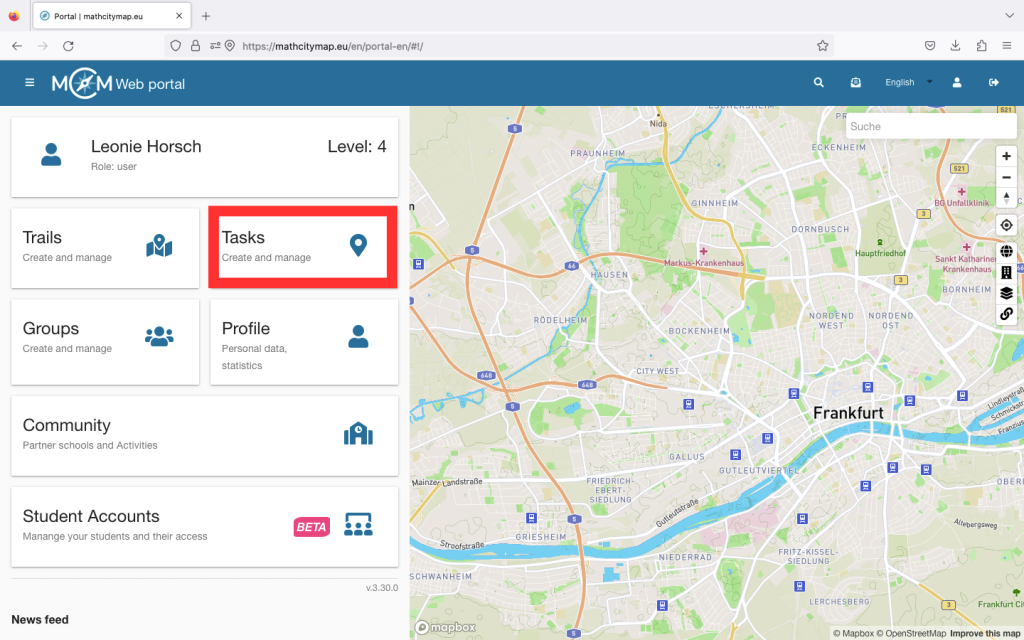
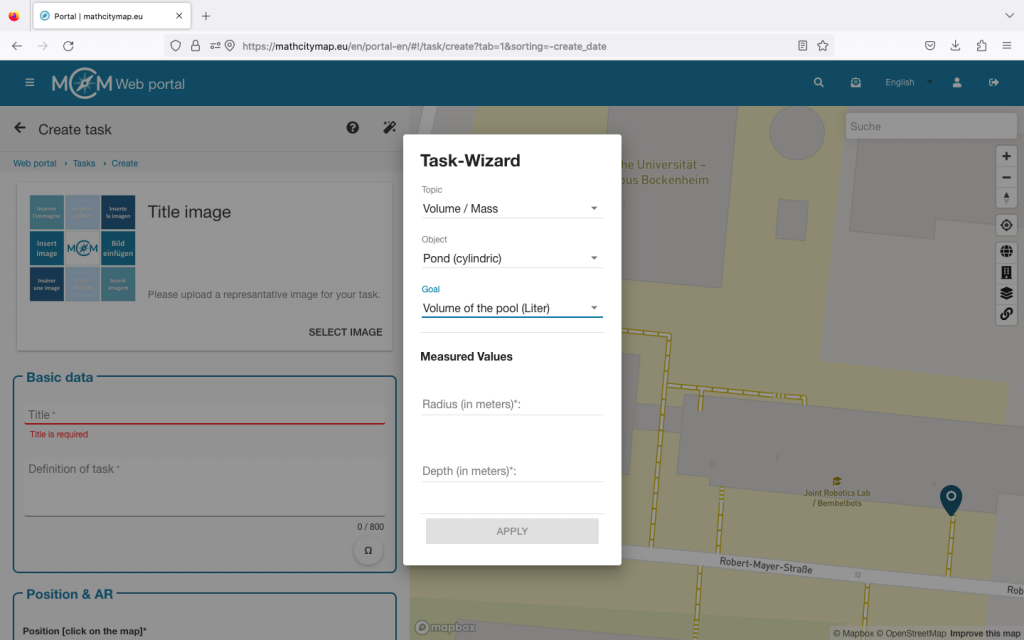
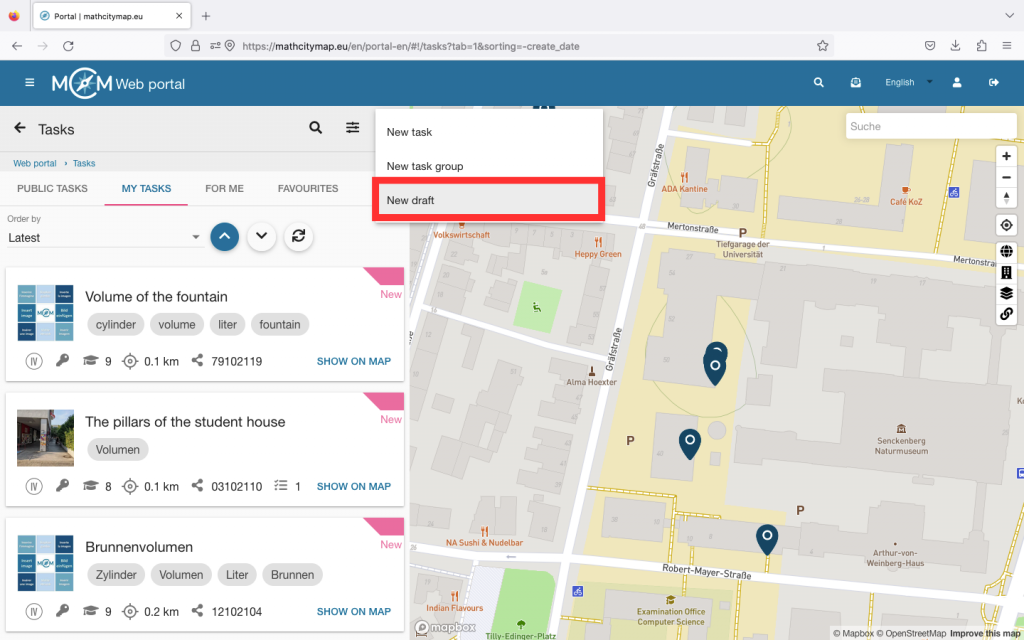
Step 1 – Create a new task
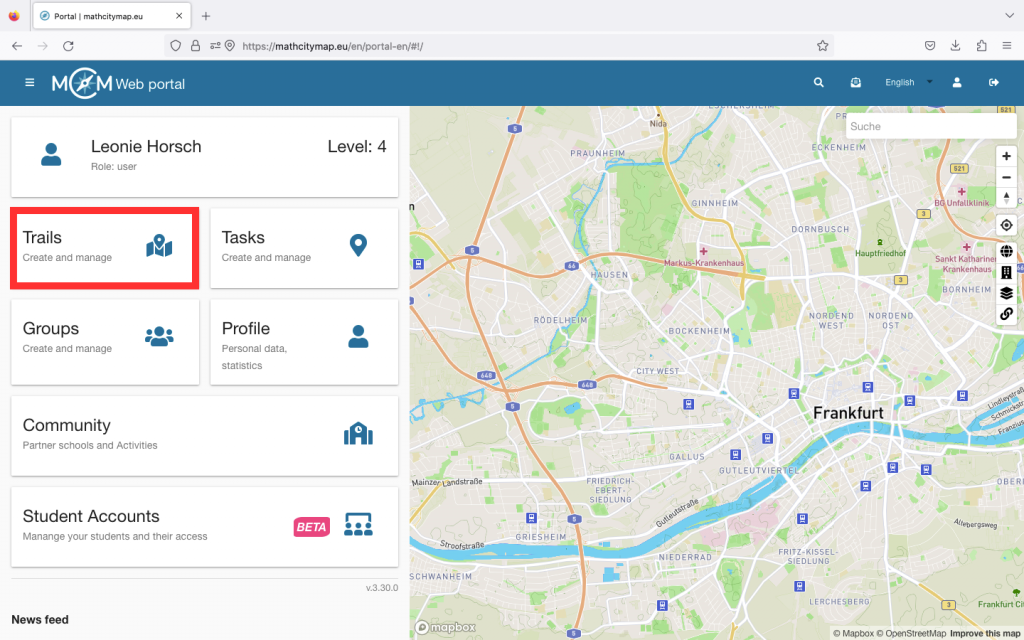
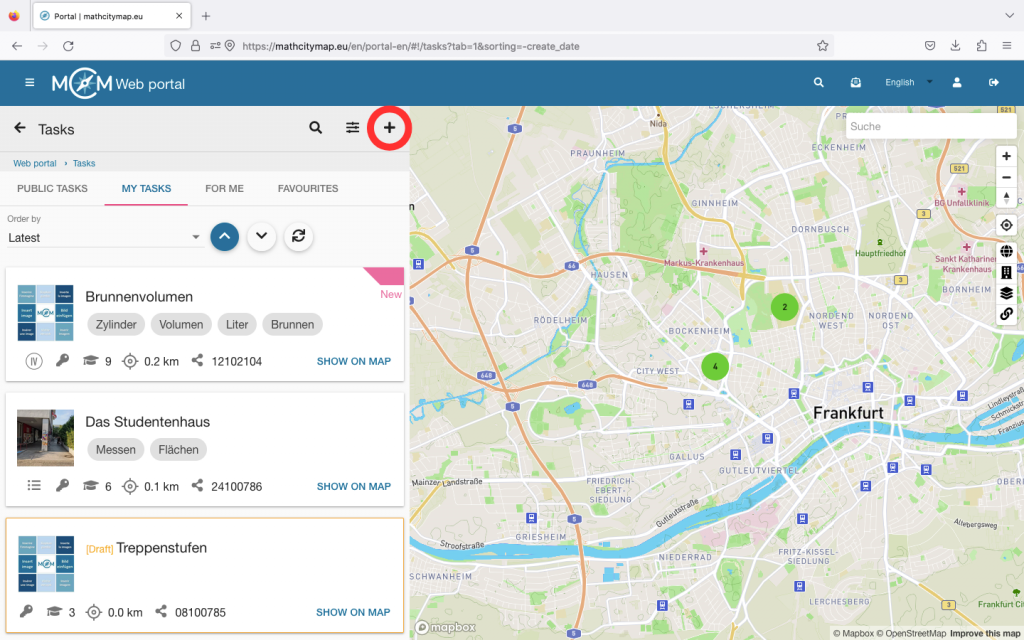
Go to “Tasks – Create and manage” or select “Tasks” in the menu bar on the left-hand side.
Then click on the plus symbol at the top right and select “New draft”.
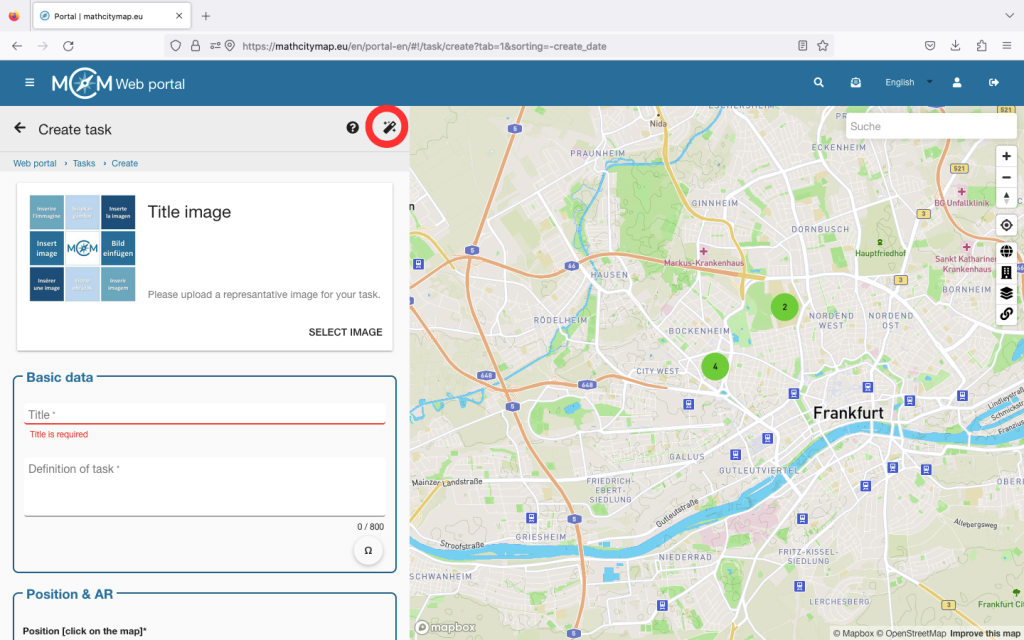
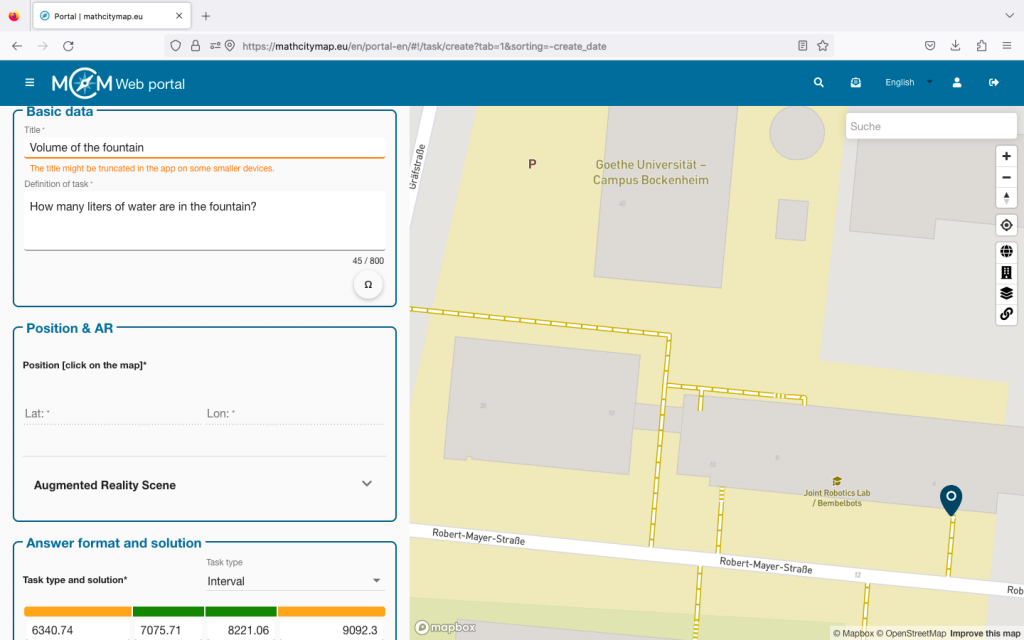
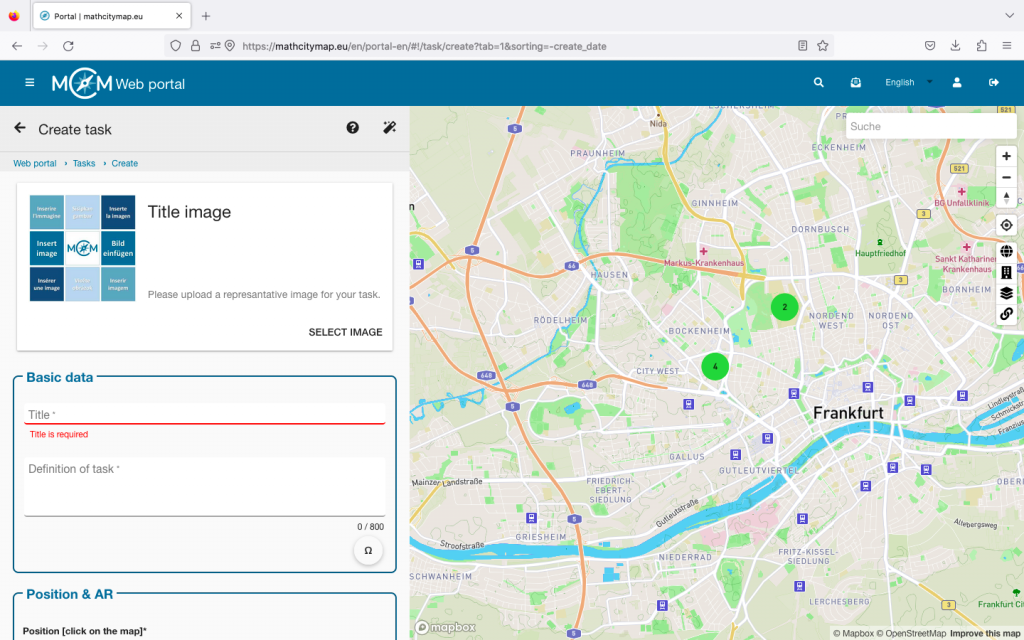
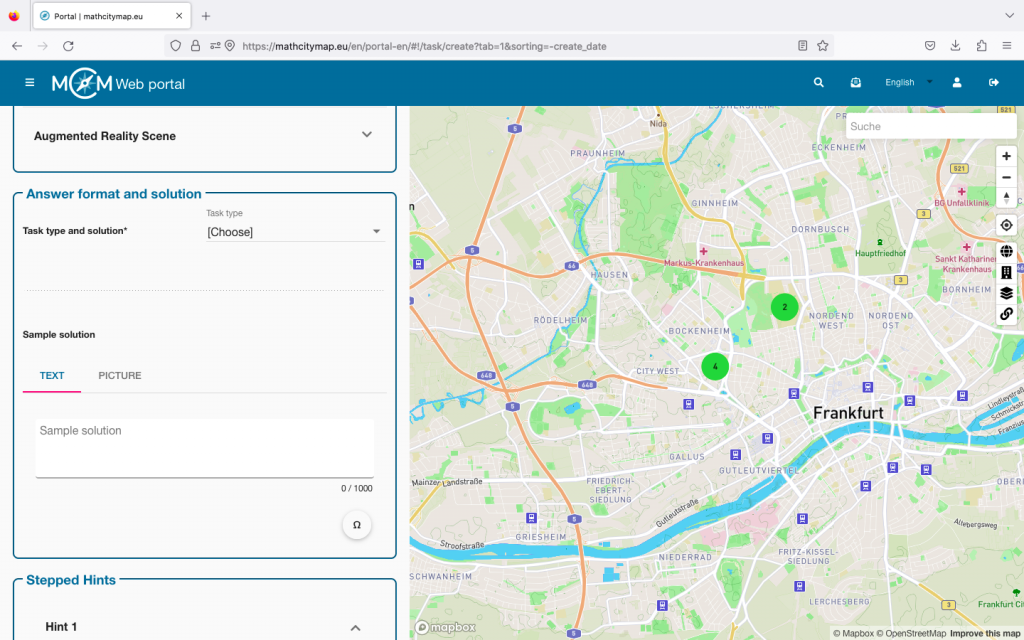
You will then be asked to enter basic data for your task.
Click on “Create” to save your draft.
Step 2 – Edit drafts
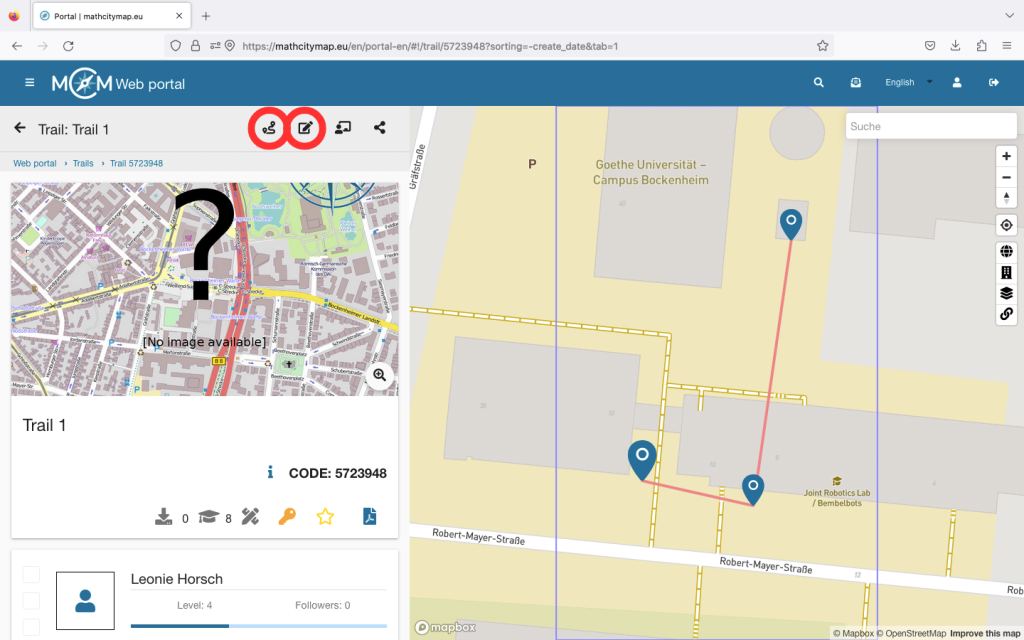
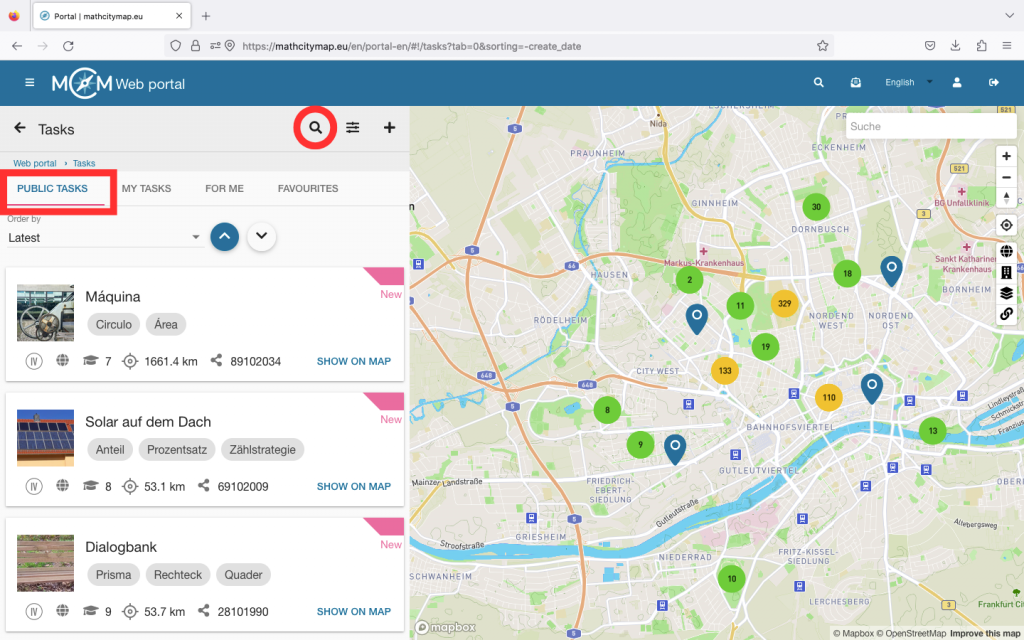
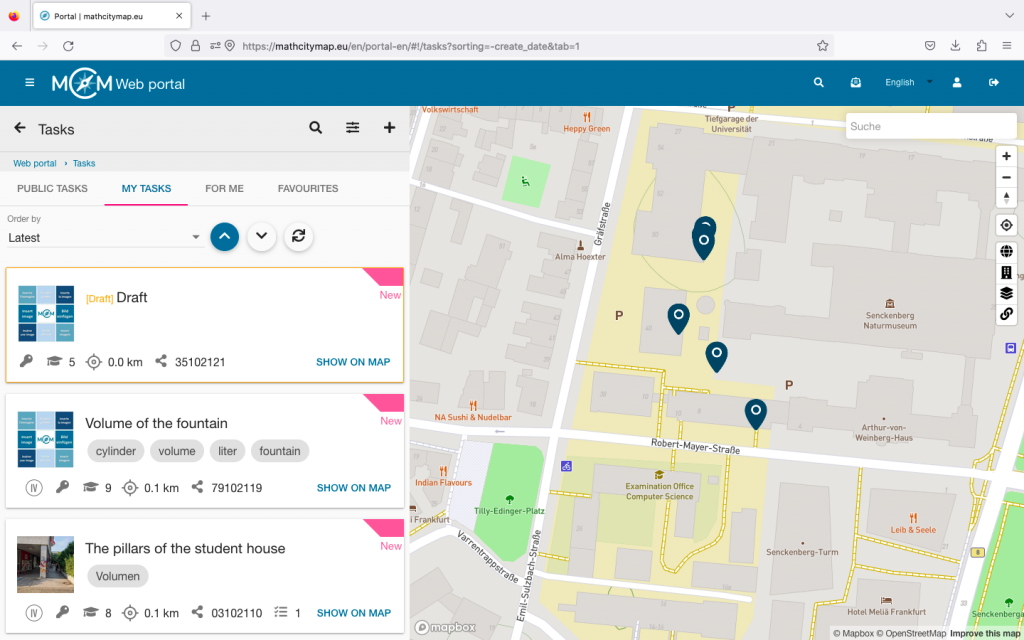
Like all other tasks, you can find drafts in your profile under “My tasks”. All drafts are framed with a yellow box.
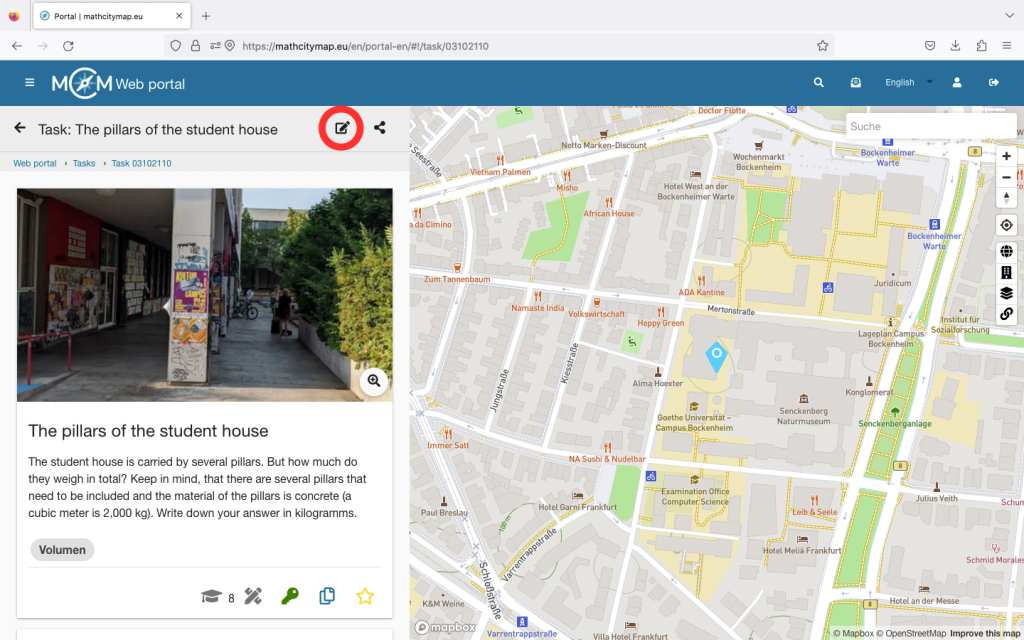
If you want to complete the task, you can simply click on it and edit the task.
Once you have entered the missing information, click on “Save”.
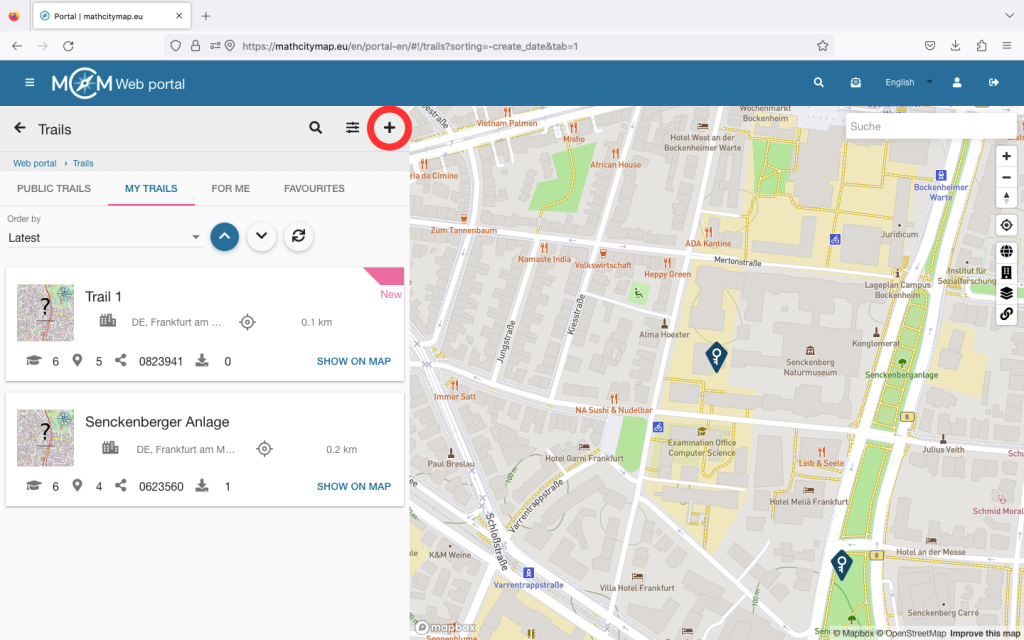
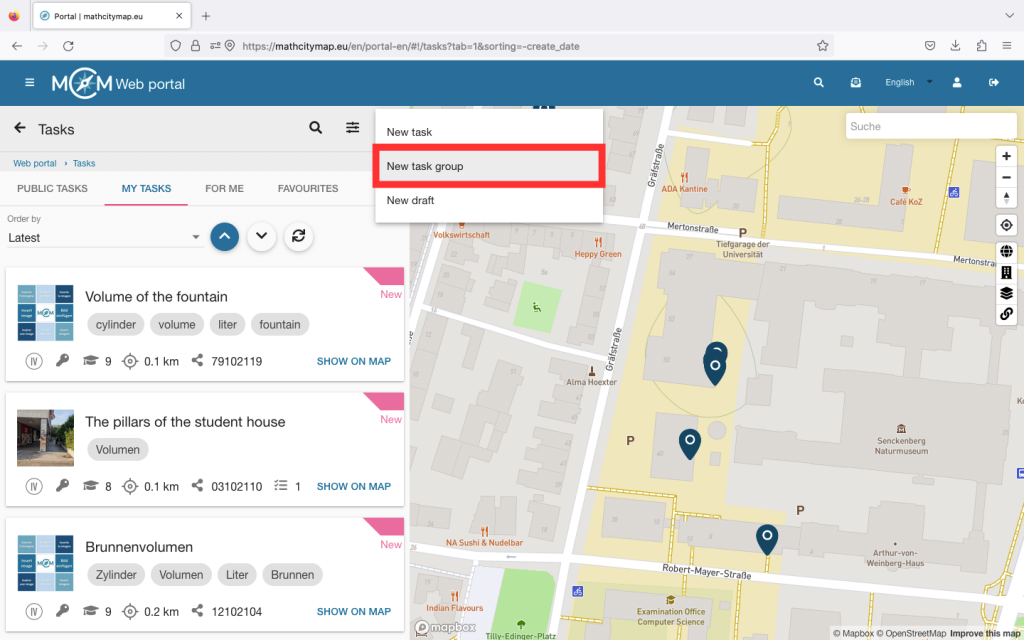
Step 3 – Create task groups
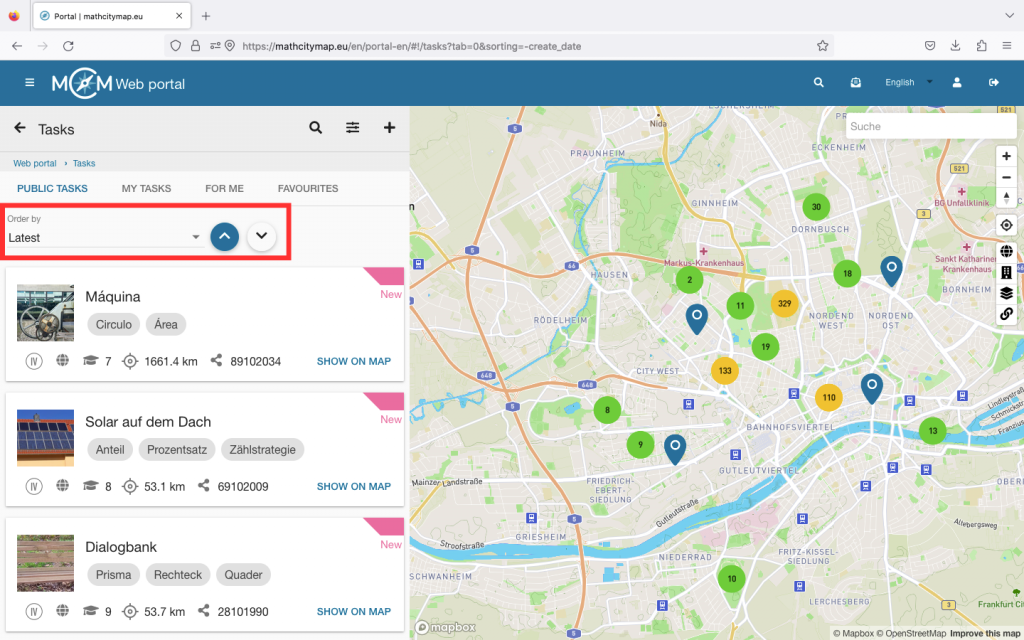
Go to “Tasks – Create and manage” or select “Tasks” in the menu bar on the left-hand side.
Then click on the plus symbol at the top right and select “New task group”.
You will then be asked to create the first task in your task group.
Once you have entered all the information, click on “Create” at the bottom.
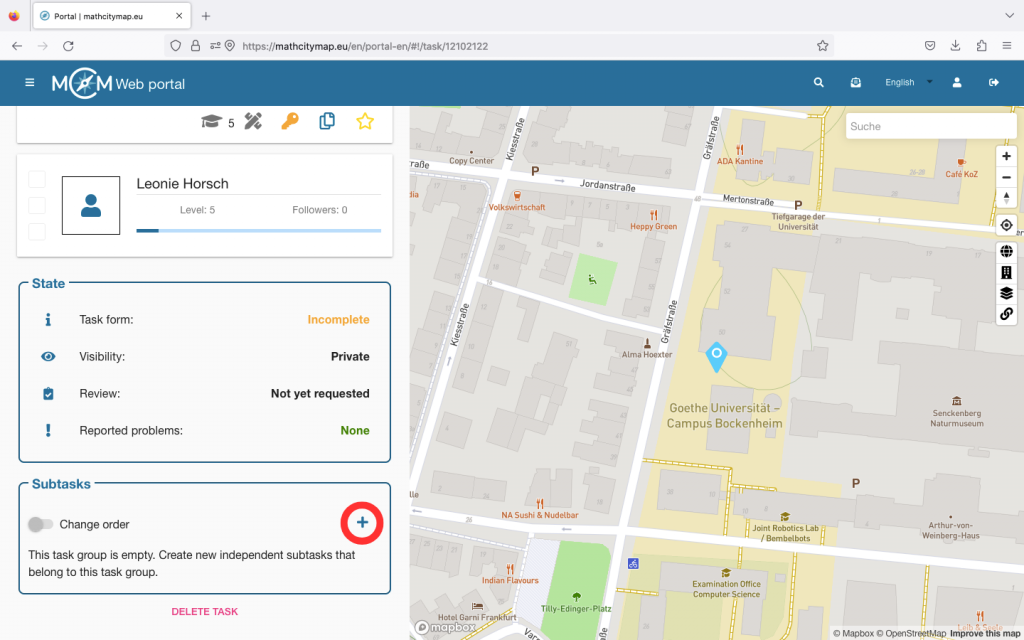
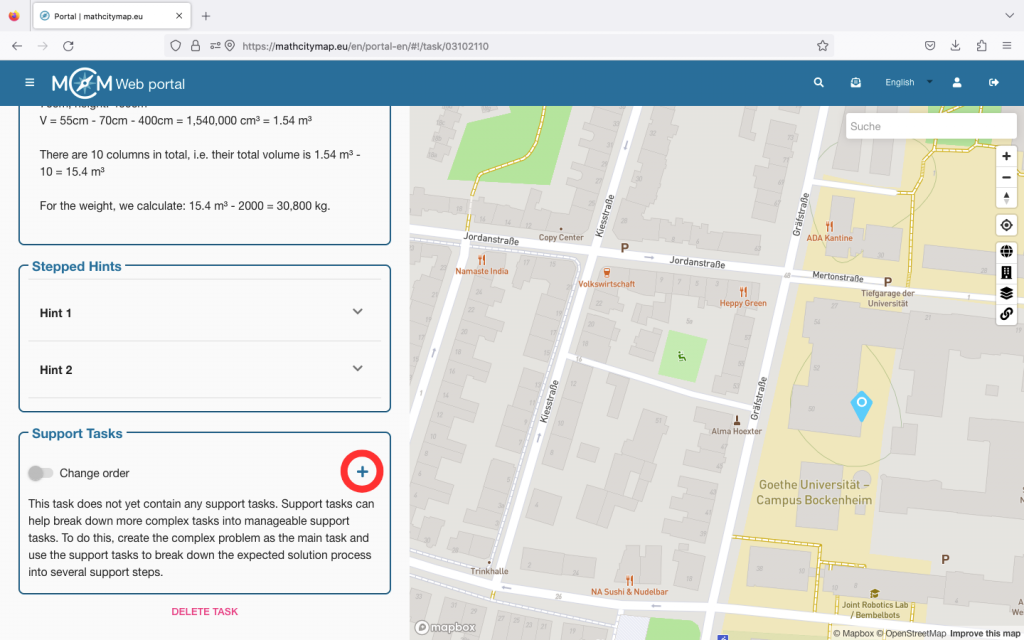
Step 4 – Add subtasks
To complete your task group, you need to create additional subtasks.
If you click on your task group and scroll to the bottom, you will be taken to the “Subtasks” section. Click on the plus symbol to add further subtasks to your task group.
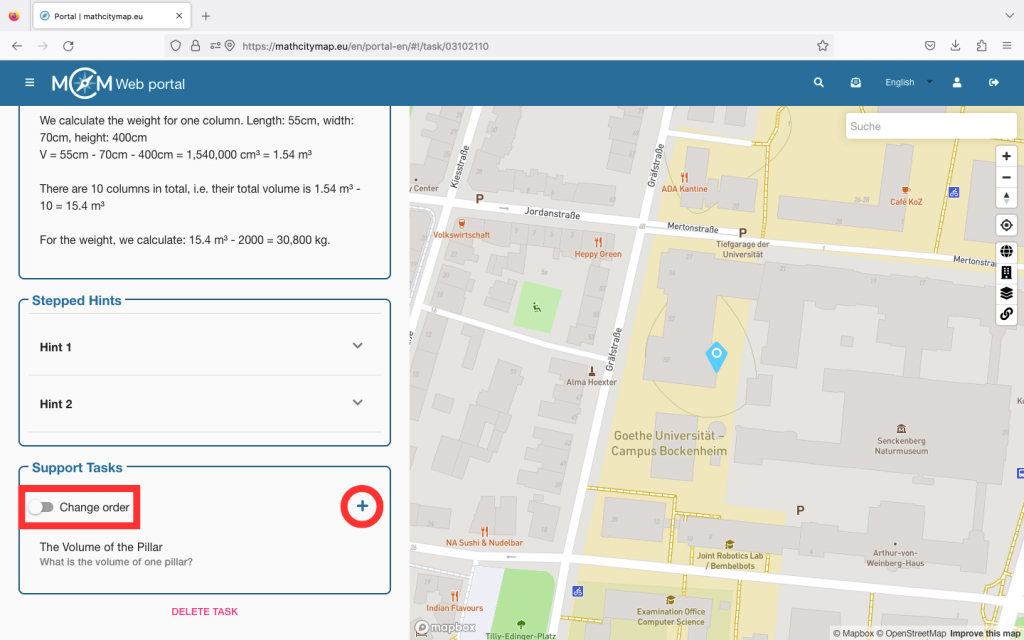
The page for creating a task opens again. Click on “Create” to save the subtask.
Finally, you can change the order of the subtasks. To do this, click on the “Change order” button and move the subtasks so that they are in the right place.
Then confirm that you want to save the changes.