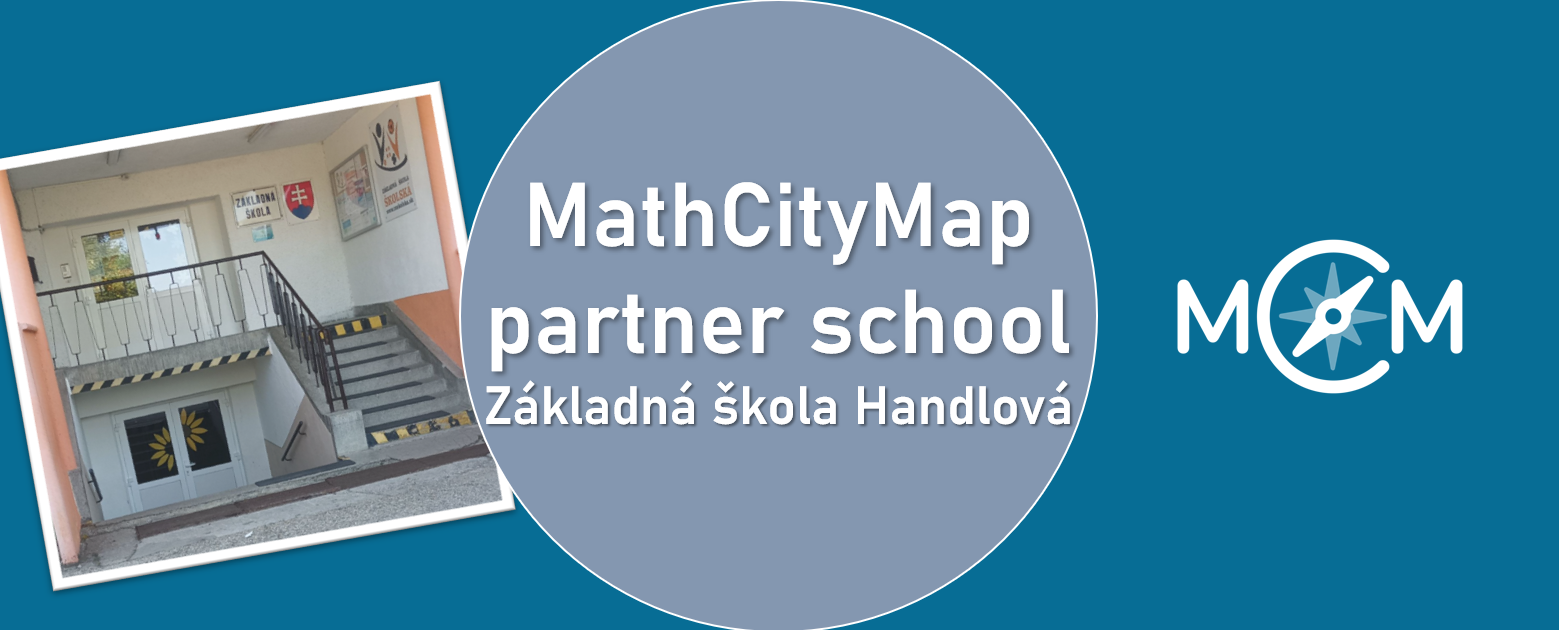
We are delighted to welcome Základná škola Handlová as a new partner school in the MathCityMap network.
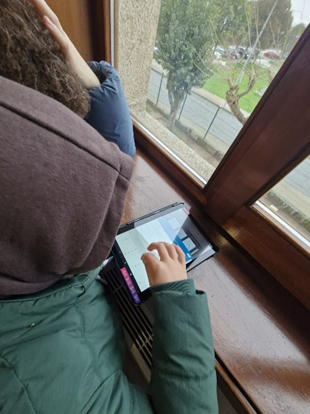
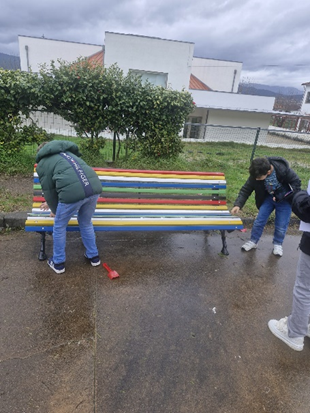
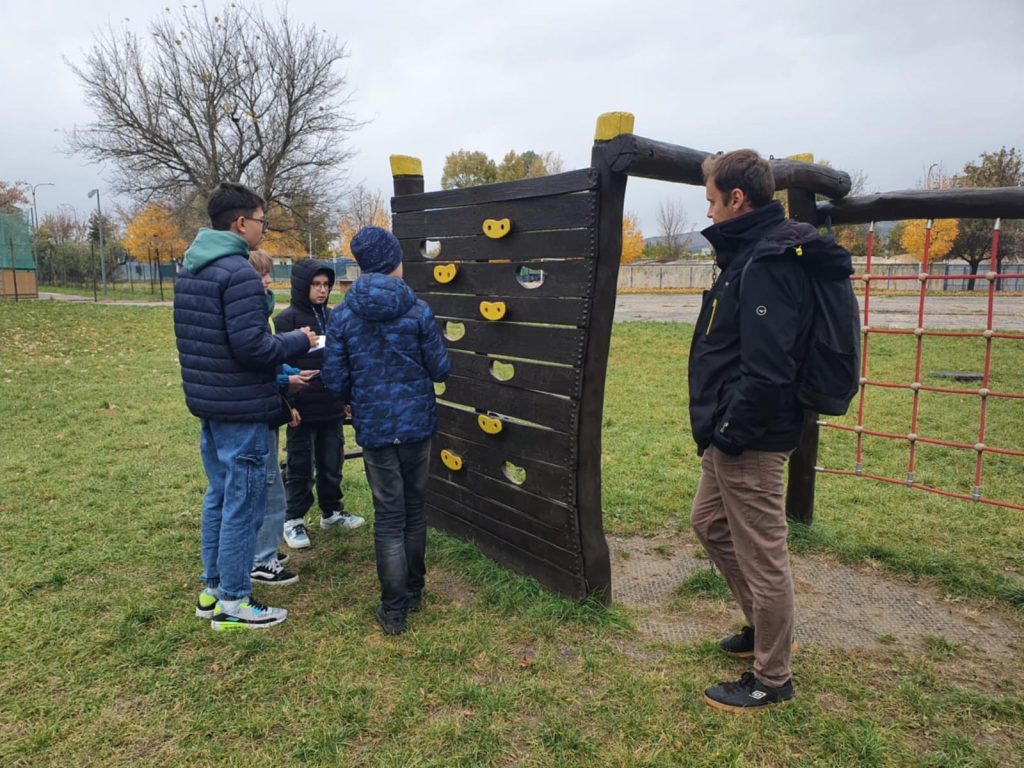
At this lower-secondary school in Handlová, mathematics education is closely connected to real-world experiences. Teacher Adriana Solcaniova has been working with mathematical trails for several years, driven by the idea that mathematics should not be limited to the classroom, but discovered and experienced in everyday environments.
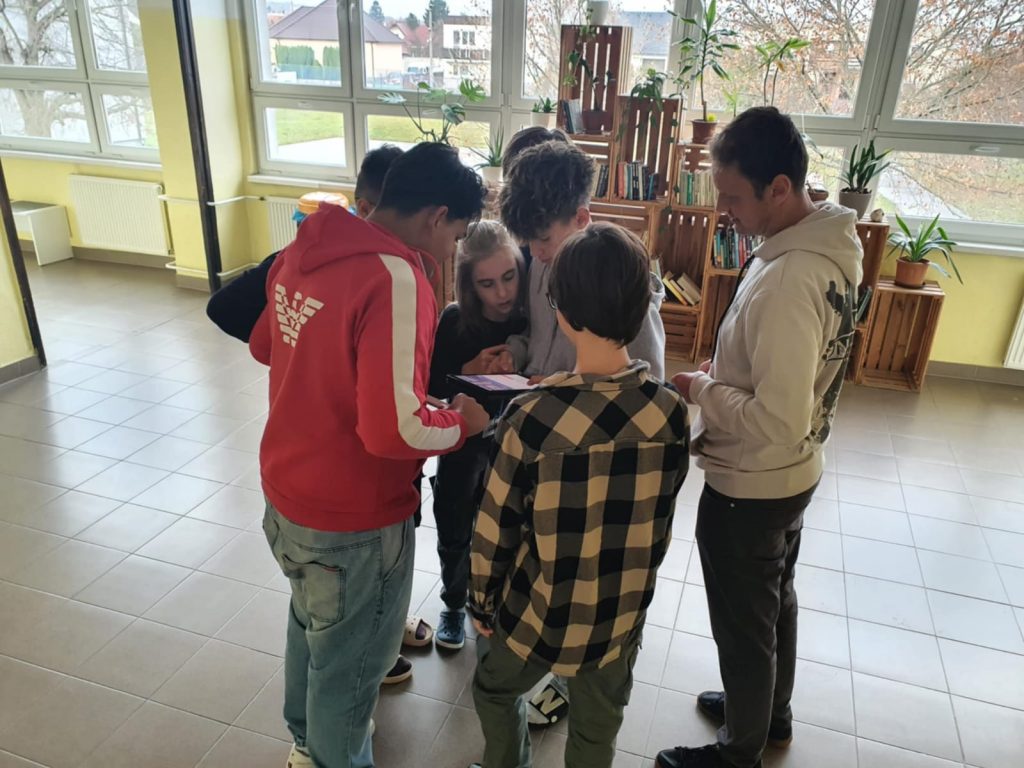
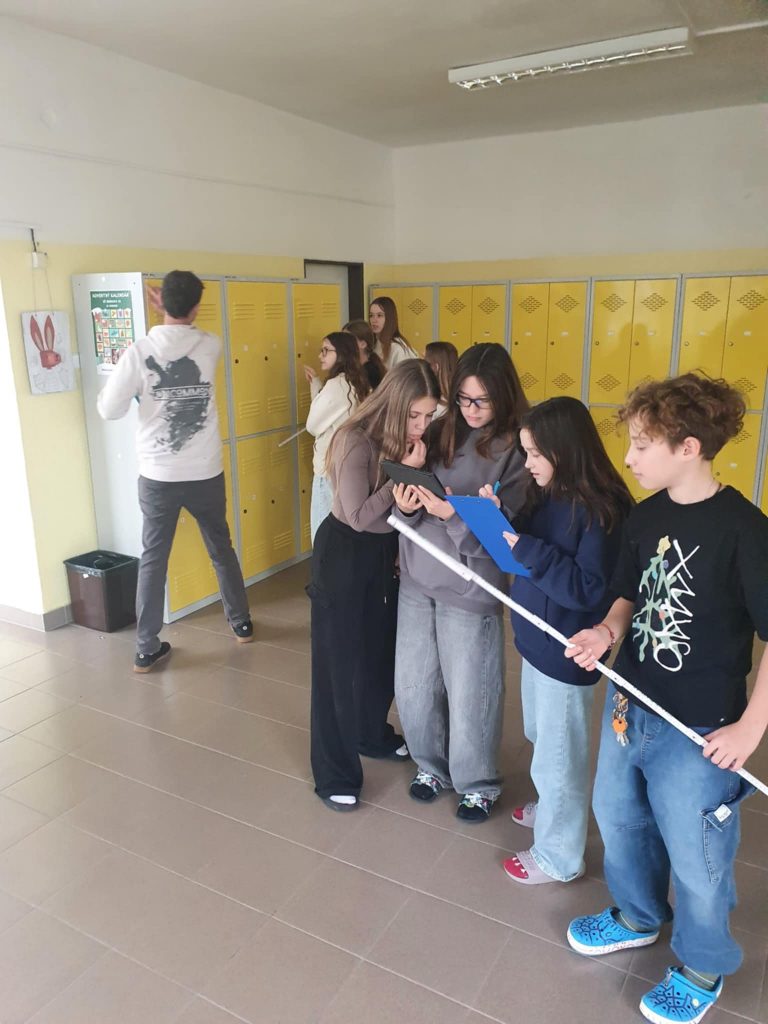
Her first experiences with mathematical trails showed that students were initially surprised by this unfamiliar approach. However, as they engaged with more trails, they became increasingly confident and open to exploring mathematics outdoors. Over time, students developed curiosity, began discussing mathematical ideas more naturally, and started recognizing mathematics in their surroundings.
Recently, the school re-engaged with mathematical trails through MathCityMap, once again confirming the strong impact of this approach on student learning and motivation. Inspired by a teacher training with Janka Medová, Adriana Solcaniova discovered the opportunity to join the MathCityMap Partner School initiative.
The school is already contributing to the MathCityMap community with several public trails:
We are excited to have Základná škola Handlová on board and look forward to their continued contributions to making mathematics visible and engaging beyond the classroom.
The package with the official partner school badge and the MCM measuring instruments has already been delivered and we are looking forward to receiving more applications from all over the world.
All further information on the partner school programme and the requirements for application can be found both in the article on the first MCM partner school and on the homepage of our MaSCE³ project.