Step 1 – Select an Existing Trail
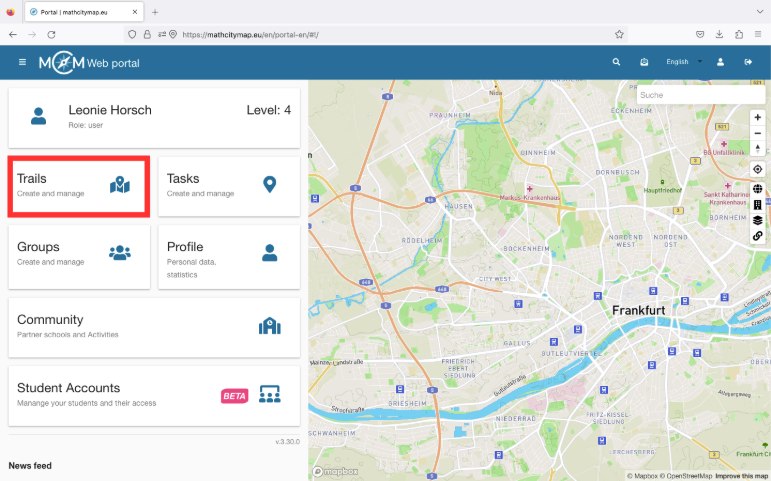
To select an existing trail, click on the “Trails – Create and Manage” field. You can also click on “Trails” in the menu bar on the left.
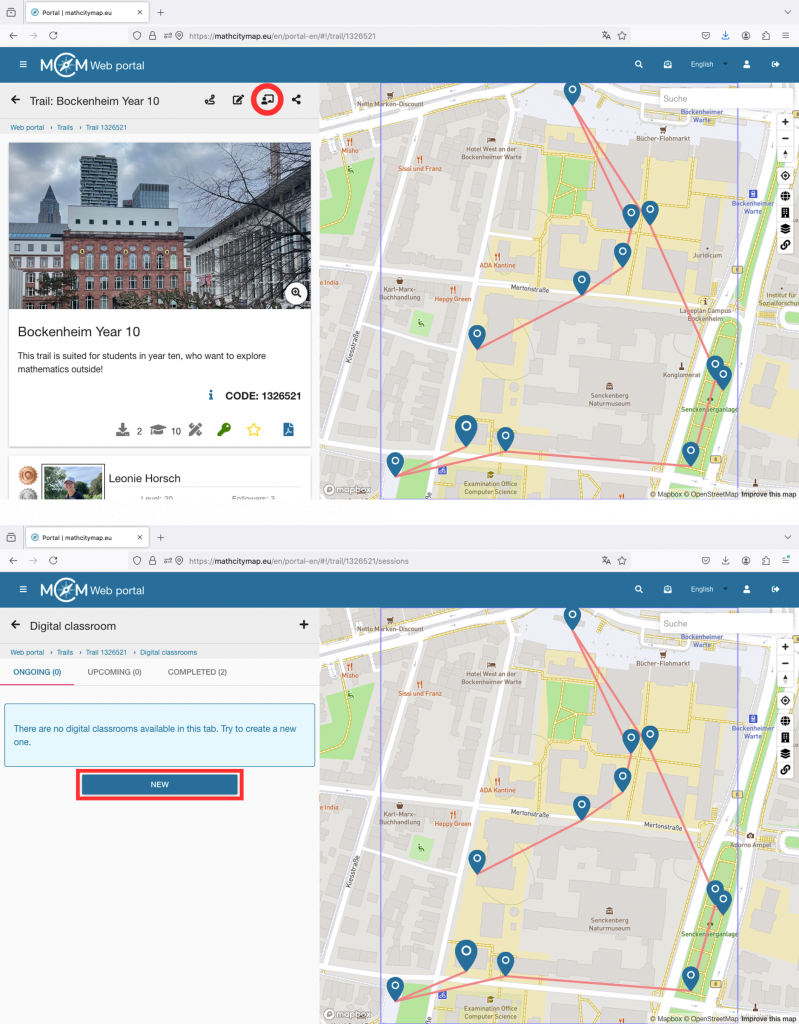
A view with your trails will open. Click on the desired trail to open its detailed view.
You can also create a digital classroom with public trails. Click on the desired trail to open its detailed view.
Step 2 – Switch to the “Digital Classroom” area
In the top left, you will see an icon showing a figure in front of a blackboard. Click on it to open the digital classroom section.
Here, you’ll see an overview of already created classrooms (if any), as well as a “New” button to create a new digital classroom.
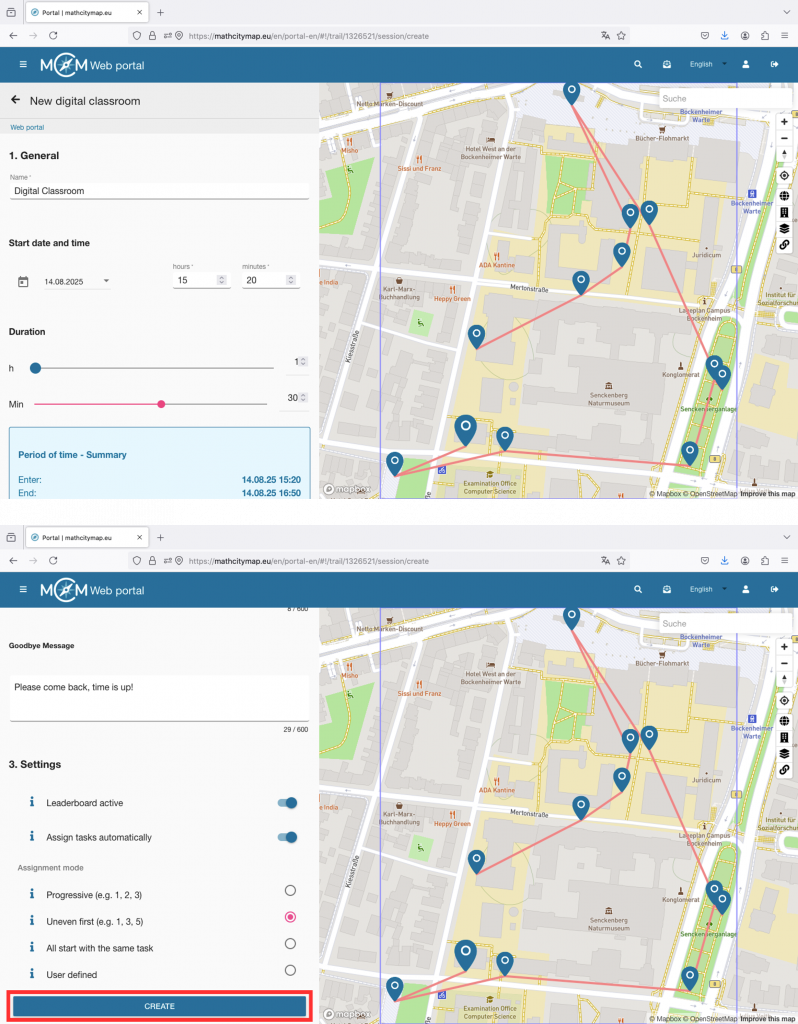
Step 3 – Create a new digital classroom
After clicking “New,” the digital classroom editor will open.
First, fill out the general information: The name of the digital classroom will be displayed to the learners in the app, select the date and time for the session (learners can join 30 minutes before the start), and set the duration of the digital classroom (after the time has expired, the session will end for all participants).
You can also write a welcome and farewell message. These will be shown to all participants at the beginning and end or when leaving the session.
In the settings, you can enable or disable the leaderboard. The leaderboard is a local ranking list and shows your team’s score, as well as the score of the team ahead and the team behind.
With the automatic task assignment feature, you can control whether all participants should start with the same task or whether they should first spread out among the tasks.
Click on “Create” to save the settings. The digital classroom will then appear under “Ongoing” or “Upcoming” depending on the start time. In the square brackets, you’ll find the associated code starting with an “s.” Share it with your learners so they can join the digital classroom.