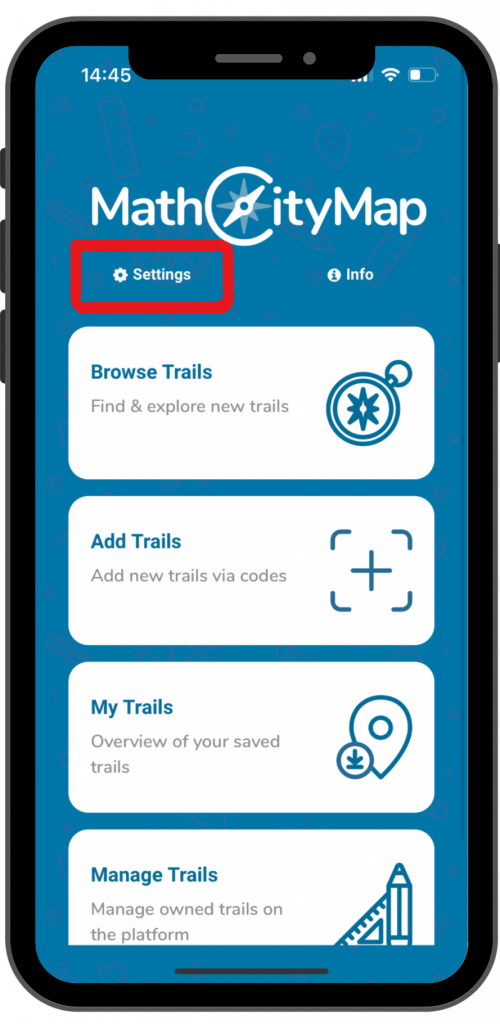
Step 1 – Open Settings
Click on “Settings” at the top left of the start screen. There is also a cogwheel symbol next to it.
This opens a view with various setting options.
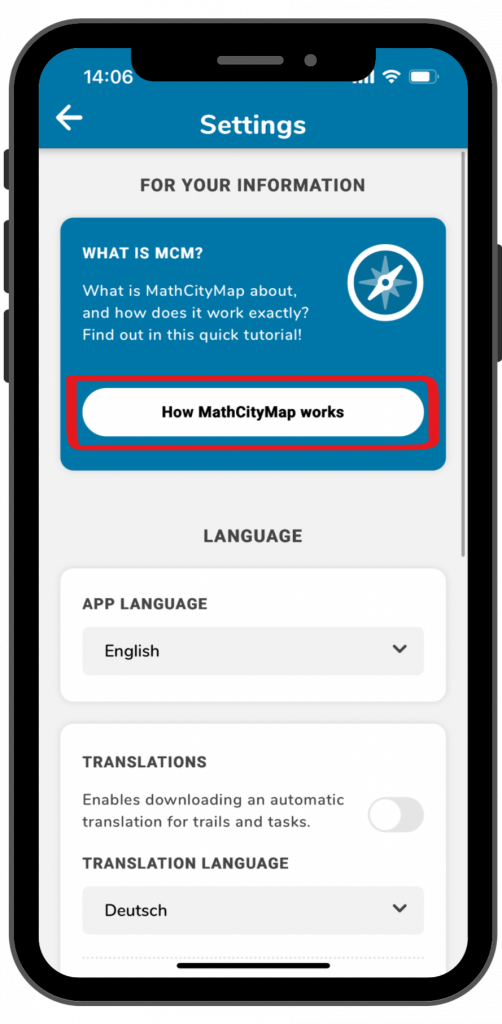
Step 2 – Tutorial
There is also a short explanation of how to use the app directly in the app. Click on the blue field “How MathCityMap works”.
The tutorial will open and you can switch to the next page by swiping.
When you are finished, click on the cross at the top right and you will be taken back to the settings.
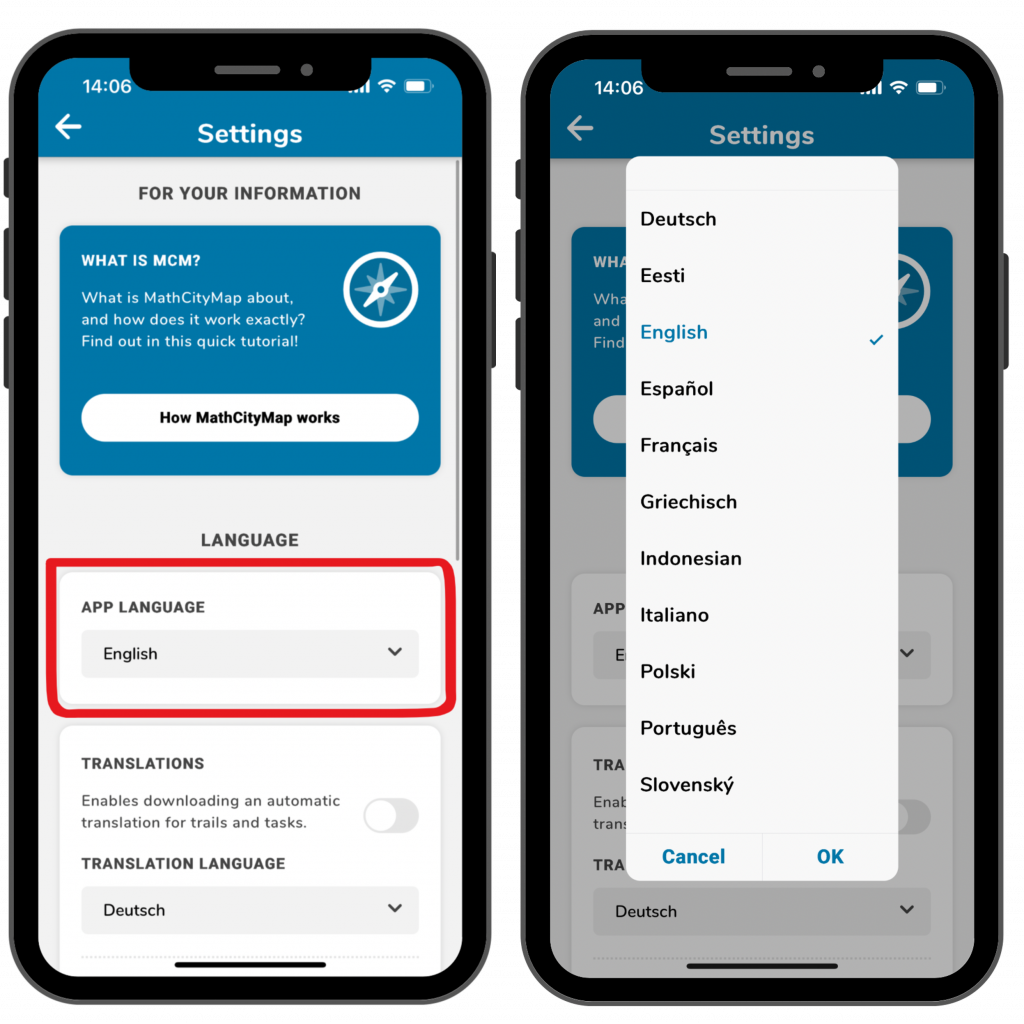
Step 3 – Language
The language of the app is initially set to English if you have downloaded it via an English app platform. However, you can of course also use it in other languages.
To do this, click on the selected language under “Language” and select a different one.
Confirm with “Ok” and the app will automatically update all texts and menus.
You can also get a translation for trails and tasks. Look at the tutorial “Automatic Translations” for further information.
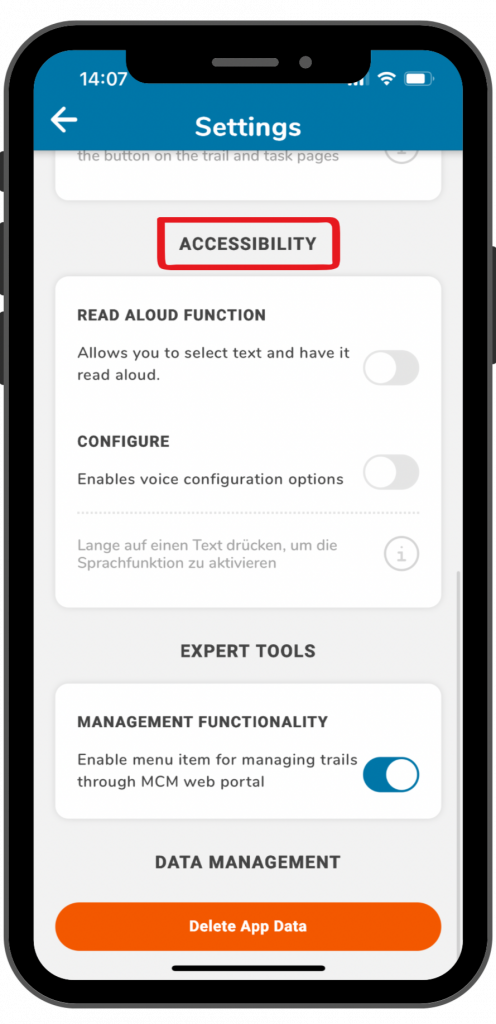
Step 4 – Accessibility
In the app you can use a read aloud function for trail information and task definitions.
Look at the tutorial “Read Aloud Function” for further information.
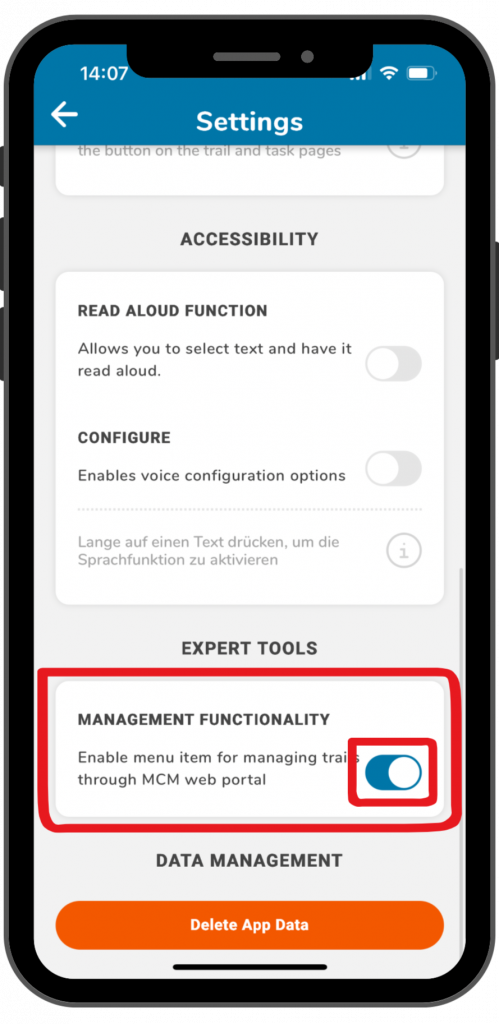
Step 5 – Expert Tools
The menu item for managing trails is not yet activated in the default settings.
If you also want to use the MathCityMap web portal via the app and thus manage your trails, you must activate the slider under “Management functionality”.
You can then select the fourth menu item on the start page.
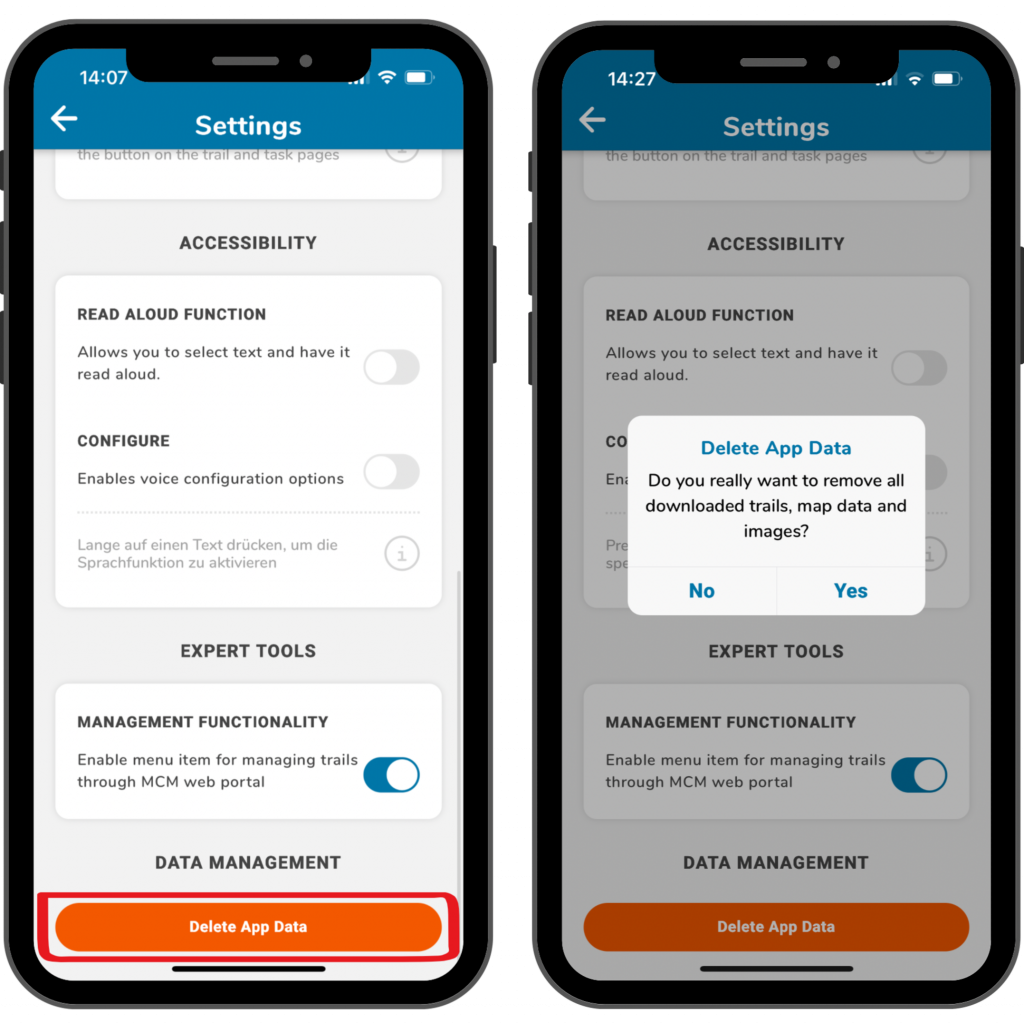
Step 6 – Data Management
If you want to delete your app data, click on the orange “Delete App Data” field at the bottom.
This will reset the app to the default settings and delete all saved trails, map data and images.
Confirm with “Yes” or click on “No” if you want to keep your data.
You can also view your saved trails and delete individual ones.

