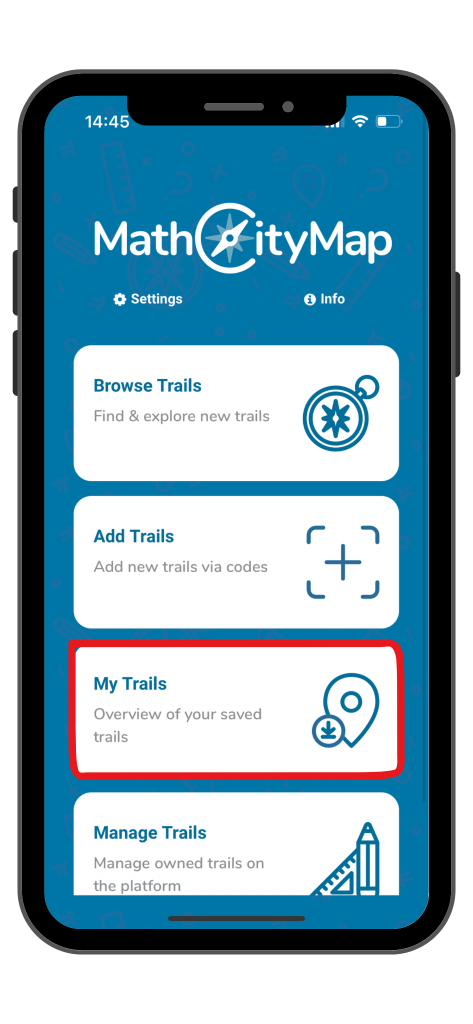
Step 1 – Open the Trail area
Click on the “My trails” field on the start page.
A page with your saved trails will open, sorted by the distance from your current location.
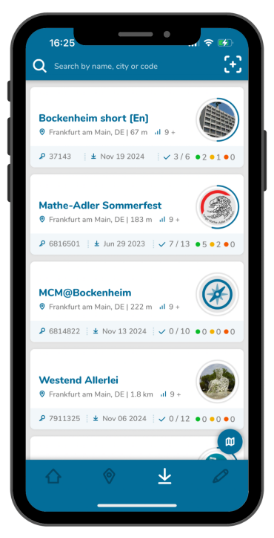
Step 2 – Basic Information about the Trails
On this page, you can already see important information about the trails, such as the title, the location with the distance to you and the class level.
Next to the key symbol you will find the corresponding code if you would like to recommend the trail.
Next to the download symbol you will see the date on which you downloaded the trail.
You can also see how many of the tasks you have completed with the level of satisfaction by the numbers next to the different colors next to the tick symbol.
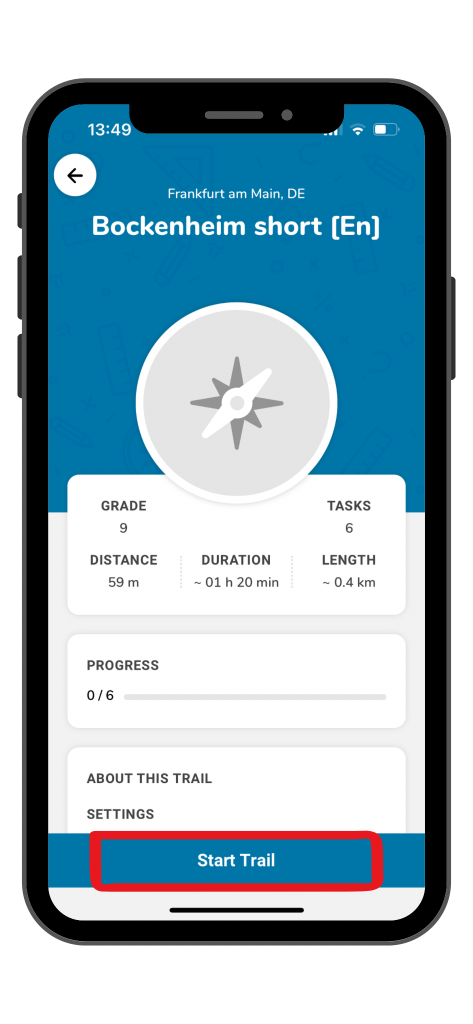
Step 3 – More Information
Click on any trail to get more detailed information.
Here you will see additional information about the duration and length of the trail, as well as the settings, required tools and suitable keywords.
Click on the blue field at the bottom of the screen to start or continue the trail.
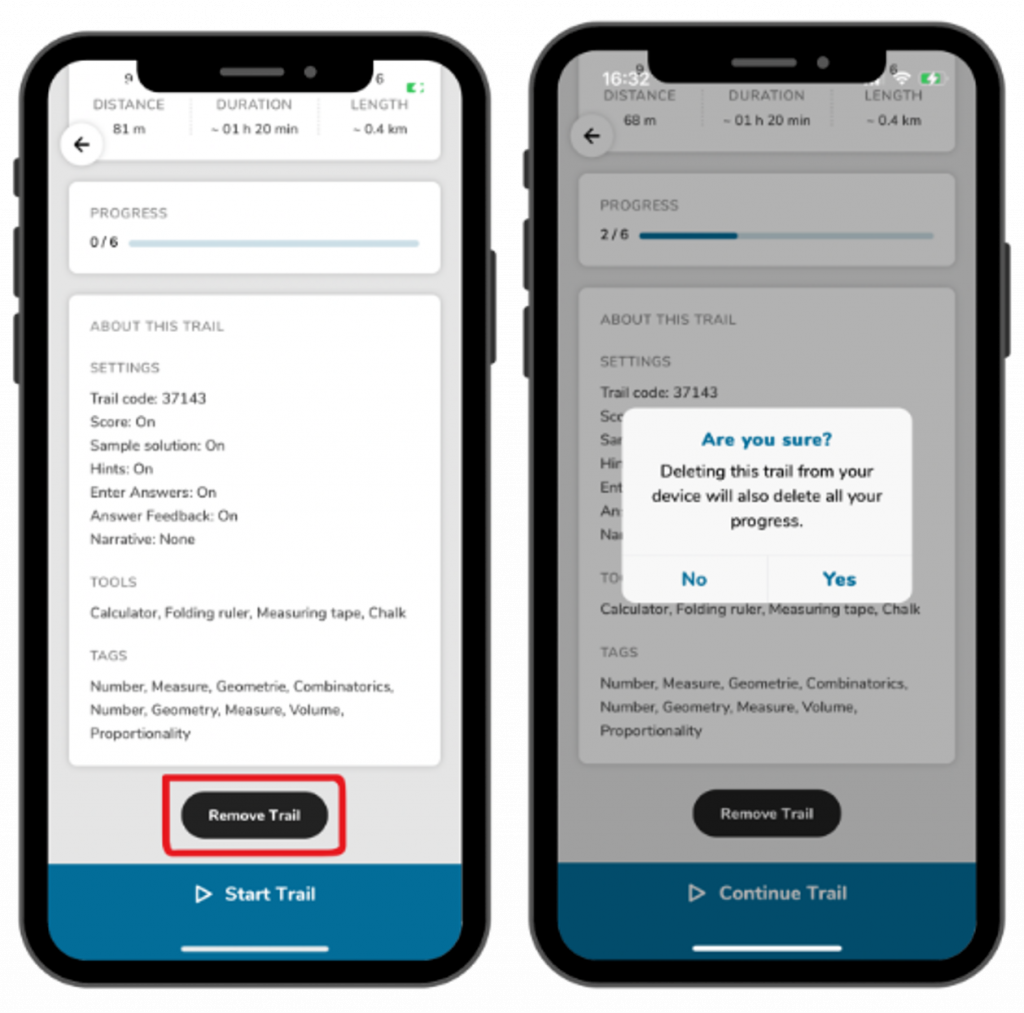
Step 4 – Remove Trails
To remove a trail from your saved trails, click on it and scroll down to the black “Remove trail” field.
When you remove it, your progress is automatically deleted, including all solutions to tasks you have already completed.
If you want this to happen, click on the field and then confirm the removal by clicking “Yes”.


